

My daughter used to be a figure skater. Not an Olympic champion, but the best skater around here. So when she and her boyfriend came to visit a few weeks ago, I suggested going to the rink. After days and days huddled inside eating and…eating, we all needed to get out and get moving. My daughter lamented that she hadn’t skated since last year and probably would be rusty. She perked up when the plan included hitting the outdoor rink set deep in the majestic Hudson Highlands at Bear Mountain State Park.
We laced up our skates and stepped onto the ice. Kids bundled up in winter gear were racing around the ice in all directions - falling right and left. My daughter and I took the first few laps together. I’ve mentioned before that my dad was a hockey player and the members of my immediate family know their way around an ice rink. Being more cautious than I can ever remember, I found myself looking for openings in the ice where I wouldn’t get run down by the brightly parkered pack. I finally made my way to the sideboards and noticed that many of the skaters had stopped and were facing center ice with broad smiles across their faces. They were watching my daughter spin her magic. She still had it.
Once upon a time, I was a teacher and focused on one thing that I did very, very well…kids. Teaching kids became so casual and easy. It defined me. Purely and simply, the kids loved me, and I loved them. So, when a young boy whizzed by my twirling skater and crashed hard onto the ice while she was in mid-spin, without thinking I glided over, crouched down and scooped him up. He smiled up at me. I still had it.
Muscle memory - we’ve all got it. What’s yours?
Amazing image captured at Bear Mountain Ice Rink by Ben Ross Scott


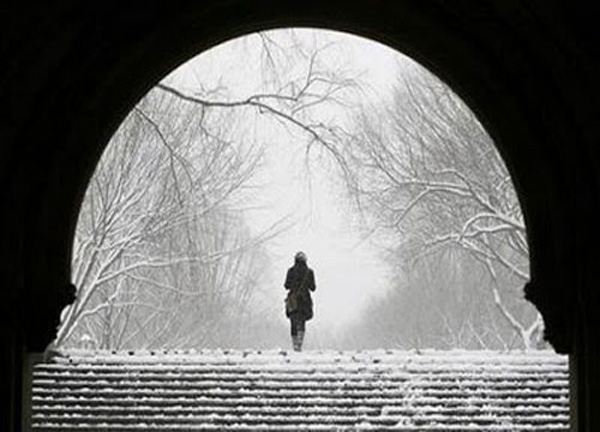 There is a simplicity to winter when a snowstorm casts a shadowy blanket of calmness onto the woods around our nests. Its quiet stillness is like the insulated caress of living inside a dome of snow. The storm at my home arrived right after the barreling in of far-flung children, presents and all the holiday festivities. In its wake, the storm left us a winter wonderland, but no chance to fulfill our travel plans to drive to my mom's on Sunday. Instead, the four of us
