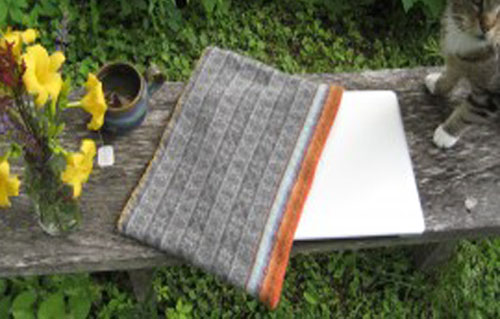
 Here’s my latest mantra: Gotta new laptop. Gotta protect it from the elements. Gotta figure out how to make something to cover it. Its gotta be cheap (and stylish), capsule because who can afford a new laptop sleeve once you’ve emptied your pockets for such a beautiful computer specimen? When I travel (even to the local coffee shop), hospital I carry a laptop. It’s my traveling office companion. With my old laptop, that recently died, I would throw it into a tote bag. Not anymore...
I am offering up this DIY project for your traveling office. You and your computer can travel in eco-style with this simple, free and amazingly light laptop sleeve made from an old sweater.
DIY Felted Laptop Sleeve
What you need:

A wool sweater (use only 100% wool) Scissors Yarn Tapestry or yarn needle Pins Washer/Dryer Eco-Friendly detergent Velco dots
What to do:
1. Wash the sweater in a washing machine in hot water with a small amount of detergent two or three times. 2. Place the sweater in a dryer and check the dryer often to see how it’s shrinking. I kept checking every 15 minutes until the width of the sweater was close to the width of the laptop. The material should have a tight fit (felted wool “gives” a little). The sweater will take on a thick, felt-like fabric. You can check if the sweater is ready by snipping the fabric. If it doesn’t fray, it is felted. Since felting wool varies depending upon the weight of the sweater and tightness of the weave, to obtain the correct laptop sleeve size it is important to check often. Also, computers come in different sizes.

3. Leaving the ribbed bottom of the sweater open, cut the sweater to fit the laptop. I cut mine under the armholes.

4. With a piece of yarn and the yarn needle, secure the two cut ends together using a blanket stitch. 5. Turn under and pin both sides of the ribbed end in for a finished look. 6. Sew in place. 7. The laptop sleeve can be left open or Velcro dots can be sewn in to close. 8. Take your laptop and its beautiful new sleeve out for a test drive.
