Beachcombing With a Purpose: 2 DIY Shell Projects

DIY Shell Curtain

Want to give beachcombing a purpose? Colorfully-toned shells come in so many unique shapes and sizes. Set out to find the perfect shells to complete these shell projects. The image above is a sweet and simple shell project from Sweet Paul. Create this Shell Curtain with shells, ed a hammer, physician nails and twine.

DIY Shell Chandelier

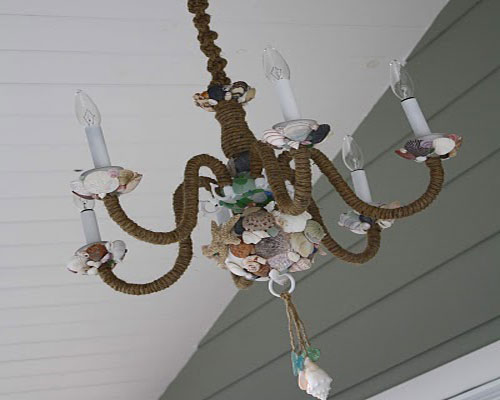
This Shell Chandelier tops my list of creative reuse of junk. Underneath this stylish number wrapped carefully in twine and adorned with shells, is a tacky old lighting fixture that was headed for the landfill. Reused, recycled and reconsidered, the Shell Chandelier created by Lindsey Cheney of the Pleated Poppy via Completely Coastal is a thrifty and creative reuse project.

For more beach-inspired projects check out: DIY Decorating With Nautical Knots What The Sea Left Behind Sun Senses: Beach Inspired Home Décor DIY Stone Knobs

Credits: Sweet Paul and Lindsey Cheney

What The Sea Left Behind

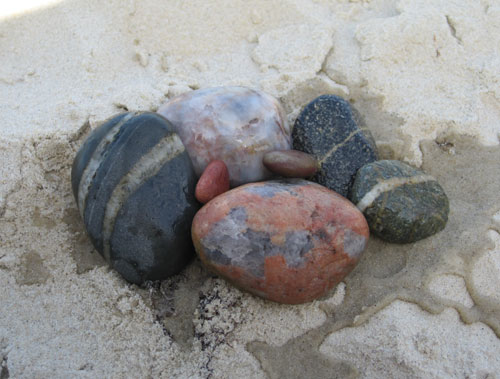
“In every outthrust headland, sale in every curving beach, mind in every grain of sand there is the story of the earth.” ~ Rachel Carson After boarding the ferry home from Martha’s Vineyard, my head was swimming with beachy DIY ideas. I’m somewhat obsessed with collecting things the sea left behind – sea glass, beach stones and shells. The weathering forces of the salty ocean, with its abrasive pounding and then sun-faded drying, transforms shells, discarded glass and stones into alluring objects.

For years, I kept the rewards of my beachcombing in jars and bowls around the house. Now is the time to dip into those beach treasures and harvest some beauties for DIY projects.

Come back for more econesting posts with projects from what the sea left behind. Let’s start with beach stones…

Beach Stone Closure

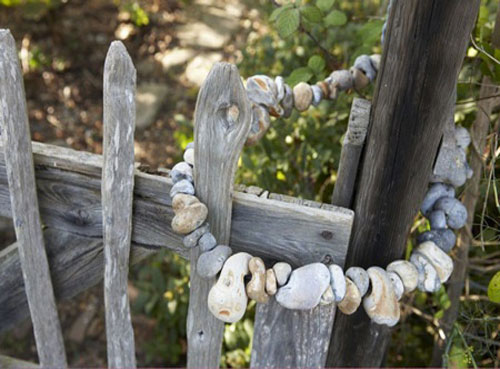
Do you need a closure for an outdoor shower or garden gate? This clasp is secure enough to keep peeping Toms out, and easy enough for a child to open. You’ll need an array of beach stones, a drill, hemp twine and this Care2 tutorial to make this simple clasp.

Credit: Remodelista.