 The gardens that surround my home are woodsy, indigenous, perennial-laden (thank goodness), and at the moment gushing over with foliage and fresh blooms. While colorful and overabundant might be used to describe the lush rural garden, there's nothing remotely sculpted (hardly trimmed) to provide me with any reference about the art of topiary gardening. So, when I interviewed landscaper, Keith Buesing who is known for his topiary skills for this article, I didn't know quite what to expect. In fact, when I started to research topiary gardens, they appeared a bit fussy and over-managed for my tastes.
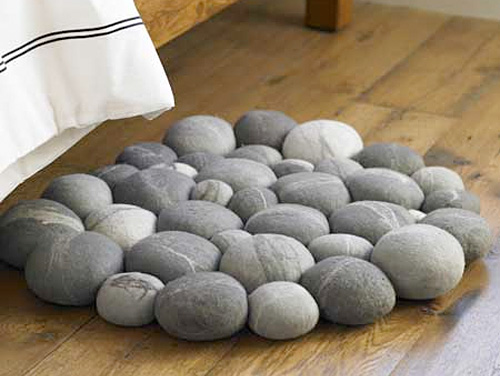
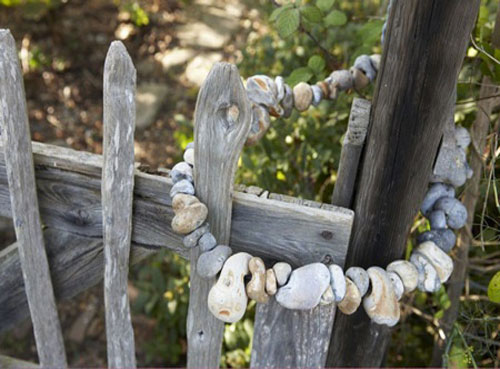
 When I strolled around the landscaper’s property, I almost missed the garden stone and plant embellishments that layered soulfully into the natural setting. Buesing considers his property the “lab” where he “transforms the land and permeates ideas.”
Buesing is the local go-to guy if you want large garden topiary installations.
Let's backtrack just a bit: For those of you unfamiliar with topiary, it is the horticultural art of training perennial plants by clipping and pruning them into a living sculpture. The first topiaries were said to have been in Roman gardens more than 2,000 years ago. Topiaries can be both fancifully witty and classically formal.
Much to the delight of Buesing's community - Gardiner, NY, he has transformed the lawn of the library with a giant green lizard reading a stone book inscribed with the words "Love, Lizard, Life, Lapidary." He also tends to a “Stegodile” - a croc that has taken on the characteristics of a Stegosaurus. The installation miraculously changed a busy, mundane state highway intersection into anything but ordinary.
It was obvious to me that in his own rustic retreat, the seemingly laid-back Buesing favors a relaxed environment. When I asked him what he was currently working on, I expected a description of a dense, mossy mountainside hide-away garden. Instead, Buesing is working on a formal English garden. Since Buesing is such a versatile landscaper, I have no doubt that meticulously edged hedges, spiral topiary, and walled gardens are totally within his realm.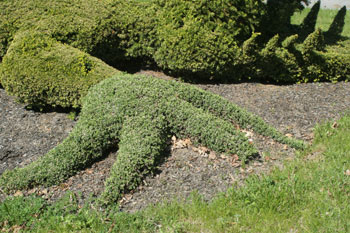
Buesing has shown me that dramatic installations can be a part of a woodland retreat. Off to get boxwood…
Photos: Juliet R. Harrison Photography

