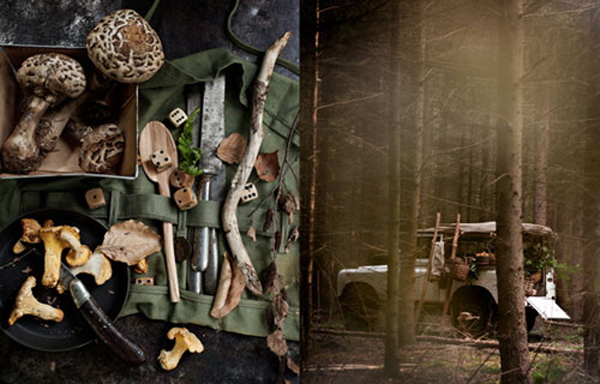
 Inspired by the crispness of fall, and an invigorating trip to the Adirondacks to visit my friend Eliza, I’ve been noticing mushrooms and moss. While shells and driftwood reflect the brightness of summer, umbrella-topped mushrooms and velvety deep green moss set the mood for fall.

Shelf mushrooms are probably my favorite type of mushroom to forage for. They illuminate the woods of the High Peaks Region of the Adirondacks with their salmon color and oversized caps. Deep inside fertile forests, shelf mushrooms can be found jutting off live trees and downed limbs. These mushrooms thrive in damp, dark spaces. They make hunting for non-poisonous, non-edible mushrooms a treat to find because these shelf mushrooms can be easily transformed into an interesting piece of art. Read more about these wild mushrooms here.
My family has fond memories of visiting Keene Valley and hiking the trails along the Ausable River to collect these fungi to make art with. Shelf mushrooms change color when bruised. My kids would draw fine lines on the inner surface of the mushroom by etching with a sharp pointy object. It's like soft carving on a block of wood. I spotted a fine example of shelf mushroom art (above) sitting on the mantle of a grand fireplace at the Ausable Club.

Another natural wonder found along Adirondack trails is moss. This lush plant rises in moist places and cushions the rock faces that anchor the forest floor. Moss is beautiful to look at, but did you know moss can be painted with too?
Images of moss wall art graffiti have been making the rounds of the blogosphere for a while now. Every time images of moss graffiti pop up on my computer screen, I find it delightfully whimsical to see the words and murals painted with moss. It's the ultimate garden wallpaper. Moss graffiti can be spray-painted onto a surface. It creates a naturally organic paint, as opposed to traditional enamel based aerosol sprays. If you love the look of moss graffiti, try this recipe (adapted from this Apartment Therapy post):
Moss Wall Art Graffiti
What You'll Need: Handfulls of Moss 1-2 Tablespoons Sugar 1/2 cup Buttermilk Water Blender Covered Container Paint Brush Chalk Spray Mist Bottle
What To Do: 1. Collect moss. 2. Clean the dirt off the moss. 3. Sketch out the image onto the surface with chalk. 4. Place moss in the blender. 5. Add sugar and buttermilk 6. Blend until thick like a milkshake. If it gets too thick, add some water. 7. Pour into container. 8. With the paintbrush, create your design on the surface. 9. Leftover moss can be stored in the refrigerator and reapplied if needed. 10. Spray your moss wall art daily with water. 11. The design should start to spread over the area.
 Here is another recipe from Stories From Space that uses beer instead of buttermilk.
Let's celebrate fall in all its natural beauty! What inspires you in autumn?
Main Photo: Ditte Isanger Moss Graffiti: Environmental Graffiti

