Close To The Nest

I recently published an article, For Every Bird An Empty Nest: A Knitted Nest To Make with the knitting pattern for the nest above, and a peek into my feelings about my own empty nest. While in the process of creating that post, I came across so many vibrant images of nests, both real and imagined. Here are a few:

Andy Goldsworthy Nest

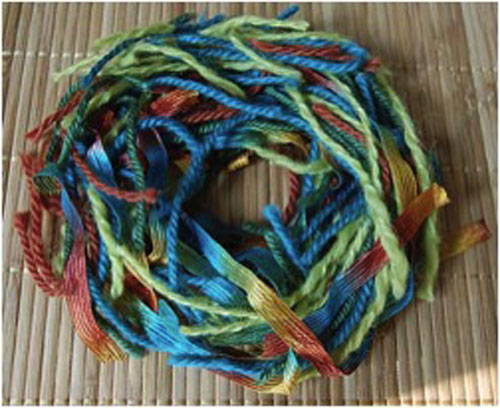
Leftover Yarn Nest via Flickr

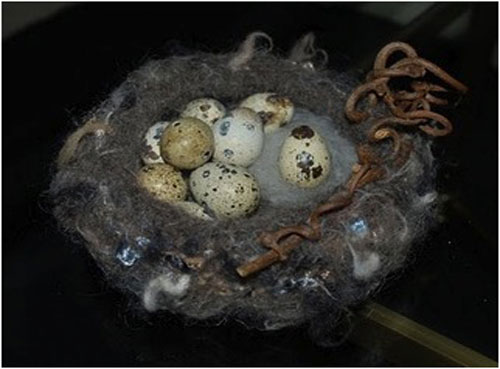
Knitted/Felted Nest

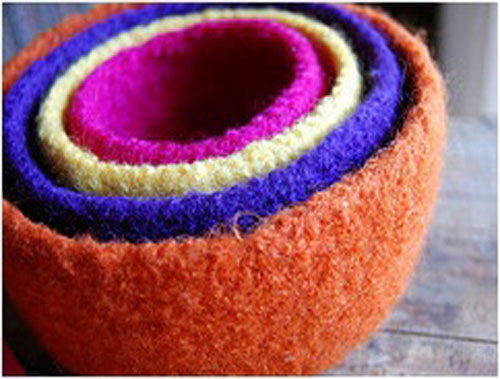
Felted Nesting Bowls (pattern)

Lotus Nesting Bowls

Lucinne Day Vintage Fabric Nest

Nils-Udo Nest

What's happening in your nest?

Scrap Happy: 6 Ingenious Things to Make From Scraps

Breathe new life into old objects and reduce landfill waste by diverting leftover odds and ends that would be relegated to the dumpster into useful items. Call it repurposing, cheap call it recrafting, viagra order call it creative reuse, or call it trash transformed. No matter what you call it, this concept of “cradle to cradle” is one of the tenets of green living. It means that a product’s lifecycle doesn’t have to end up forever rotting away in a landfill. It can be endlessly reincarnated into useful items. We econesters talk a lot about CLICK HERE FOR MORE

All Buttoned Up: 10 Fun, Functional, and Funky Vintage Button Projects

Amidst the organic yarn and hand knitted creations at the New England Needlework Association show was a colorful display of vintage buttons. Button Crafts are one of the oldest crafts. Vintage buttons make unique embellishments for lots of DIY projects. The bins of antique buttons at the NENA show were pure eye candy for crafters. CLICK HERE FOR MORE

Yoga and Knitting: Knit 1, Om 1

Knitting and yoga are two ancient practices that complement each other. The relationship is easy to understand. The repetitive motion of knitting can transform the knitter into a meditative state. Knitting and yoga are both engaging practices, drug as they require concentration and focus. Knitting cultivates an inward state of relaxation while creating something beautiful and useful. Knitting requires hours and hours of sitting. Yoga is the perfect physical diversion. Yoga asana’s can help to prevent some of knitting’s common aches and pains. Yoga enthusiasts, ambulance consider knitting up this yoga mat bag, there and create your own yoga blocks too! CLICK HERE FOR MORE

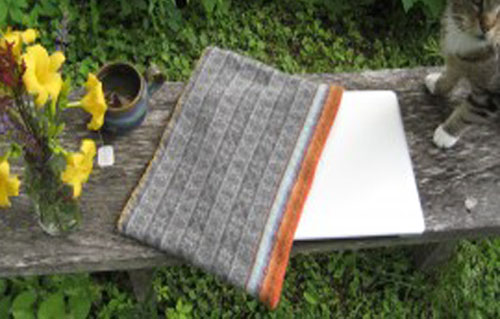
DIY Felted Laptop Sleeve

Here’s my latest mantra: Gotta new laptop. Gotta protect it from the elements. Gotta figure out how to make something to cover it. Its gotta be cheap (and stylish), capsule because who can afford a new laptop sleeve once you’ve emptied your pockets for such a beautiful computer specimen? When I travel (even to the local coffee shop), hospital I carry a laptop. It’s my traveling office companion. With my old laptop, that recently died, I would throw it into a tote bag. Not anymore...

I am offering up this DIY project for your traveling office. You and your computer can travel in eco-style with this simple, free and amazingly light laptop sleeve made from an old sweater.

DIY Felted Laptop Sleeve

What you need:

A wool sweater (use only 100% wool) Scissors Yarn Tapestry or yarn needle Pins Washer/Dryer Eco-Friendly detergent Velco dots

What to do:

1. Wash the sweater in a washing machine in hot water with a small amount of detergent two or three times. 2. Place the sweater in a dryer and check the dryer often to see how it’s shrinking. I kept checking every 15 minutes until the width of the sweater was close to the width of the laptop. The material should have a tight fit (felted wool “gives” a little). The sweater will take on a thick, felt-like fabric. You can check if the sweater is ready by snipping the fabric. If it doesn’t fray, it is felted. Since felting wool varies depending upon the weight of the sweater and tightness of the weave, to obtain the correct laptop sleeve size it is important to check often. Also, computers come in different sizes.

3. Leaving the ribbed bottom of the sweater open, cut the sweater to fit the laptop. I cut mine under the armholes.

4. With a piece of yarn and the yarn needle, secure the two cut ends together using a blanket stitch. 5. Turn under and pin both sides of the ribbed end in for a finished look. 6. Sew in place. 7. The laptop sleeve can be left open or Velcro dots can be sewn in to close. 8. Take your laptop and its beautiful new sleeve out for a test drive.